
.jpg)
 1 year ago
105
1 year ago
105
PROTECT YOUR DNA WITH QUANTUM TECHNOLOGY
Orgo-Life the new way to the future Advertising by AdpathwayAuthor by Amanda Davis on June 6, 2025 Updated on June 6, 2025
Using beautiful colors of your choice, you can create stunning drip painted clay pots that are fun for everyone.
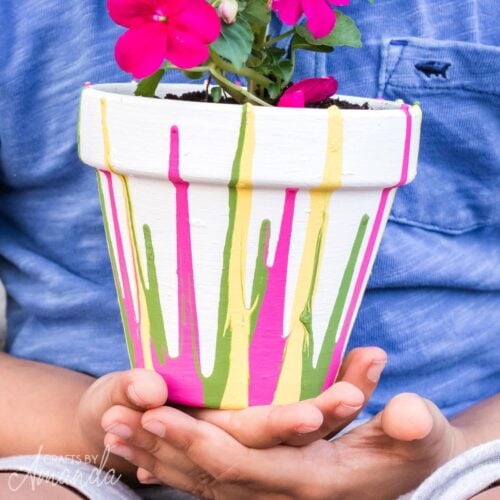
Have you seen those drip paint pots out there and wondered how to make one? Such a pretty clay pot craft that’s awesome for both kids and adults.
 gifts!")
Why this project is a hit
First of all, how fun! Kids and adults alike will enjoy creating these drip paint pots without the need for any painting expertise or talent.
These pretty drip pots are useful too. They are perfect for children to make as gifts for parents or grandparents, but also make a great project for seniors!
RELATED – You might also like this project – DIY Tea Towels
 gifts!")
Expert Tips & FAQs
- We recommend using a combination of acrylic paints and a sealer, or if you want to keep your pots outside, go with Patio Paint, which is specifically formulated for the outdoors.
- The trick here is to not squeeze too much paint out at once so you don’t end up with a big blob of muddled shades. Use small amounts because you can always add more, but can’t take any away.
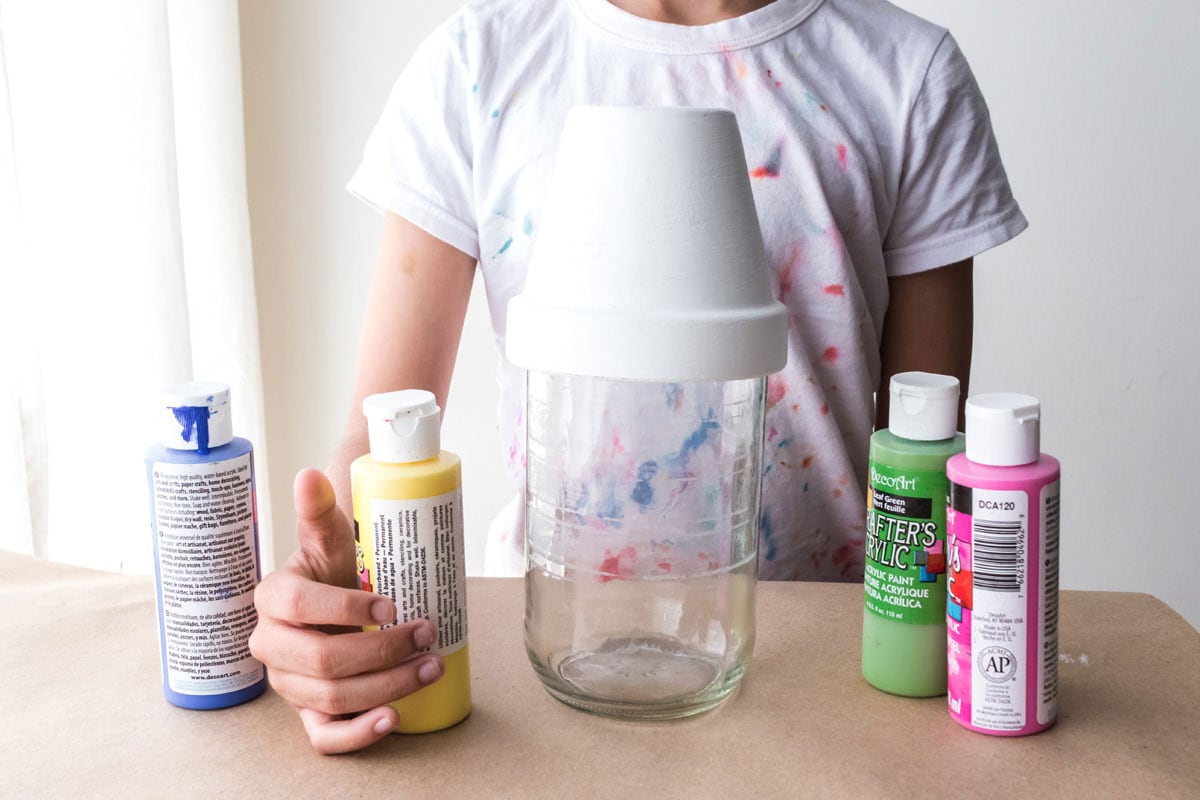
- Be certain you use something to elevate the pot so that the rim is not touching the work surface. If you place the pot right on the work surface, the paint will gather around the rim and dry there, causing a messy looking jagged rim. We used a jar to hold our pot, which allowed the paint to drip off onto the protected work surface.
- You can use your decorated pot to hold office supplies, bookmarks, crayons, scrunchies, bracelets, or anything else you can think of!
- Important Note – if you allow water to sit in the tray after watering your plant, it can soften the paint around the bottom of the pot and cause it to peel.
 gifts!")
Craft supplies you will need:
You can print the full supply list and instructions at the end of this post!
- Terra cotta pot
- Painter’s tape
- Acrylic craft paint (or Patio Paint) in white and your choice of colors
- Clear outdoor sealer (if keeping pot outdoors)
- Paintbrush
- Jar or other cylinder
- Newspaper or plastic tablecloth
Helpful Project Information:
- Age Level: 5 and up – smaller children may need help
- Mess Factor: Medium – paint
- Level of Difficulty: Easy
- Time to Complete: 20 minutes active, 24-48 hours dry time
- Cost Estimate: Less than $2.50
How to Make Drip Paint Pots
These step by step photos and instructions are here to help you visualize how to make this project. Please scroll down to simply print out the instructions!
Preparation
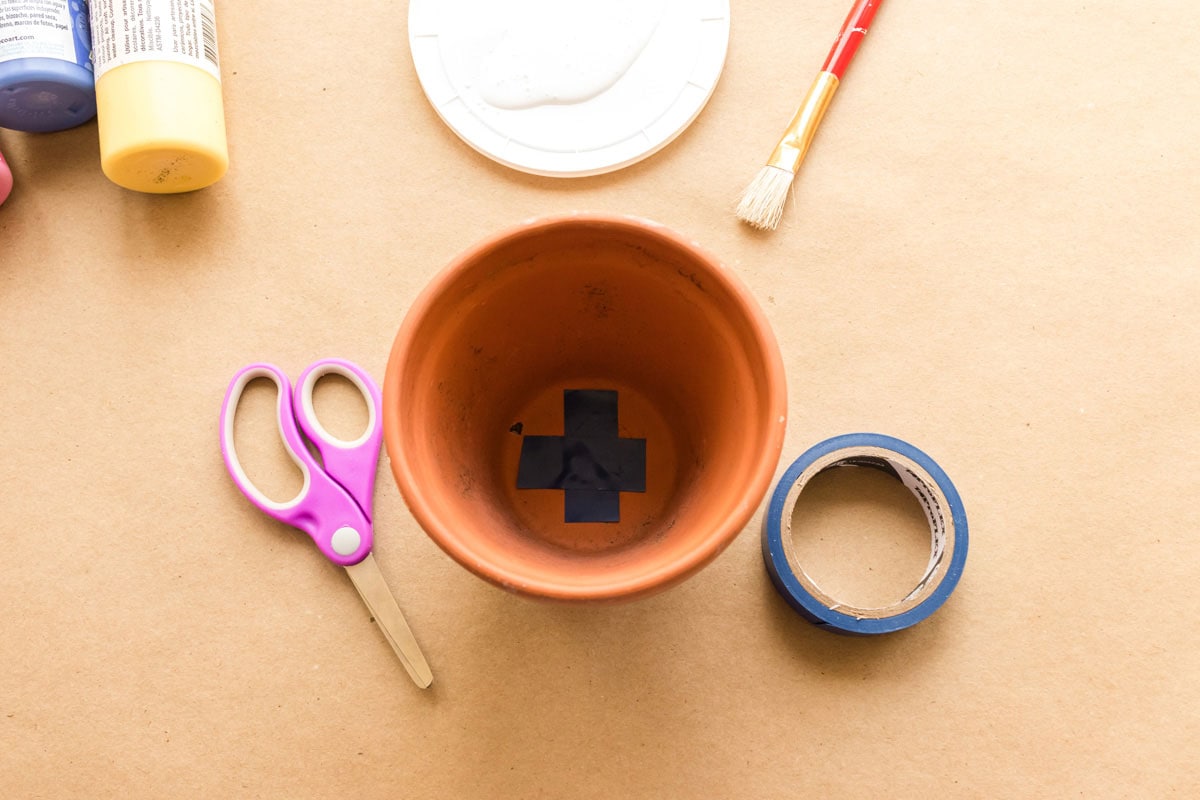
- Start by covering a large work surface with 2-3 layers of newspaper, or line with a disposable plastic tablecloth.
- Cover the hole in the bottom of the pot using painter’s tape. This will keep the paint from dripping through.

Decorating Your Pot
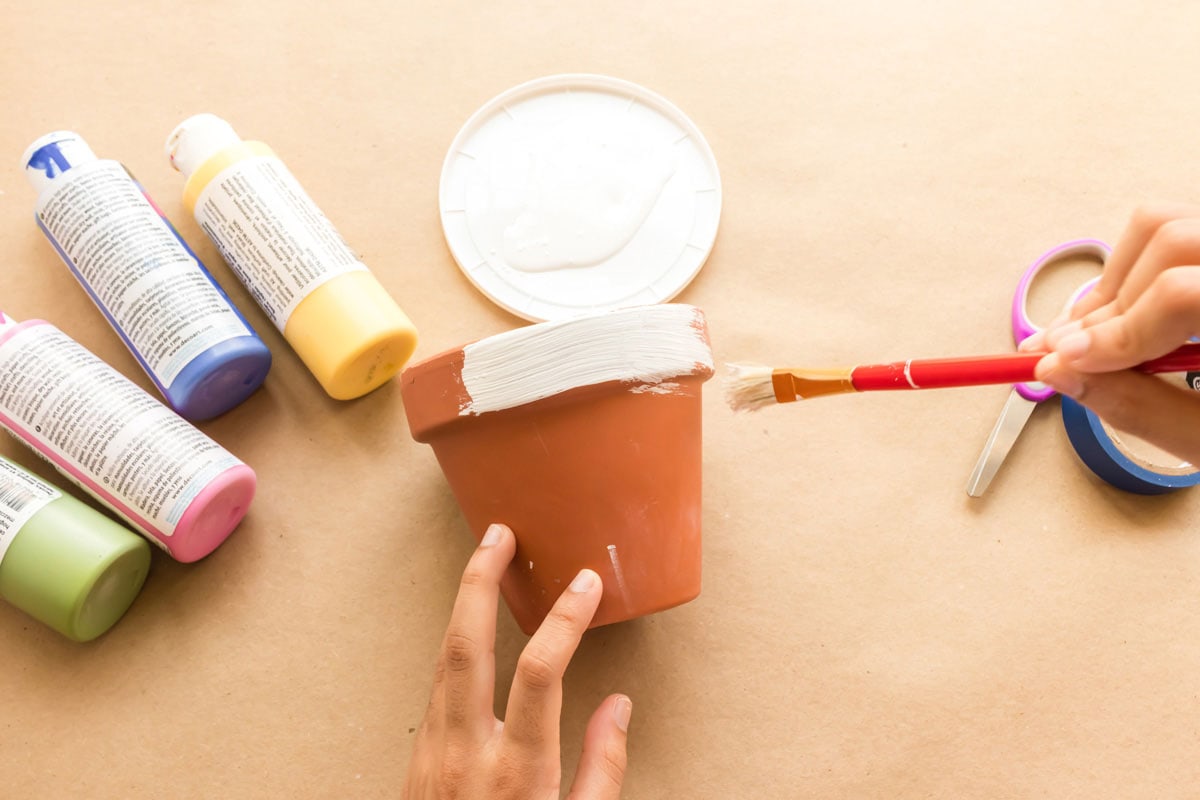
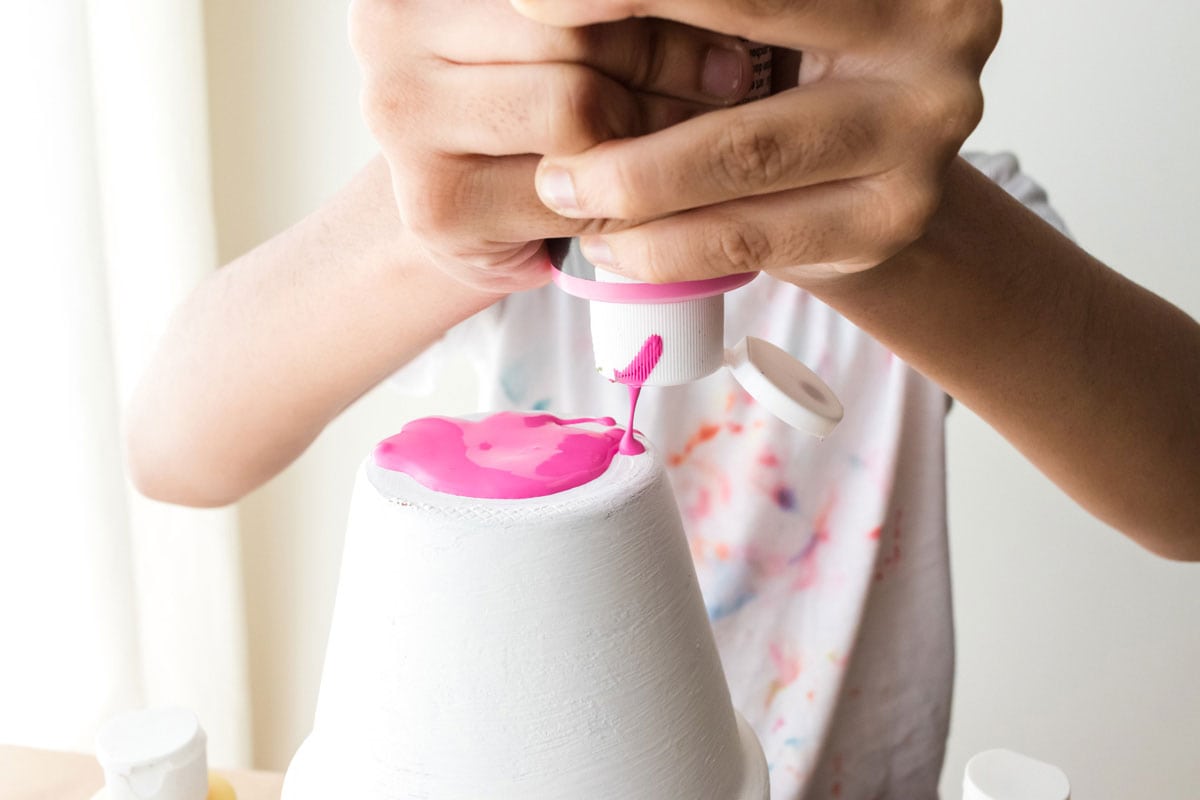
- Paint the outside of the terra cotta pot with white paint, including the rim. Do not paint the inside of the pot.
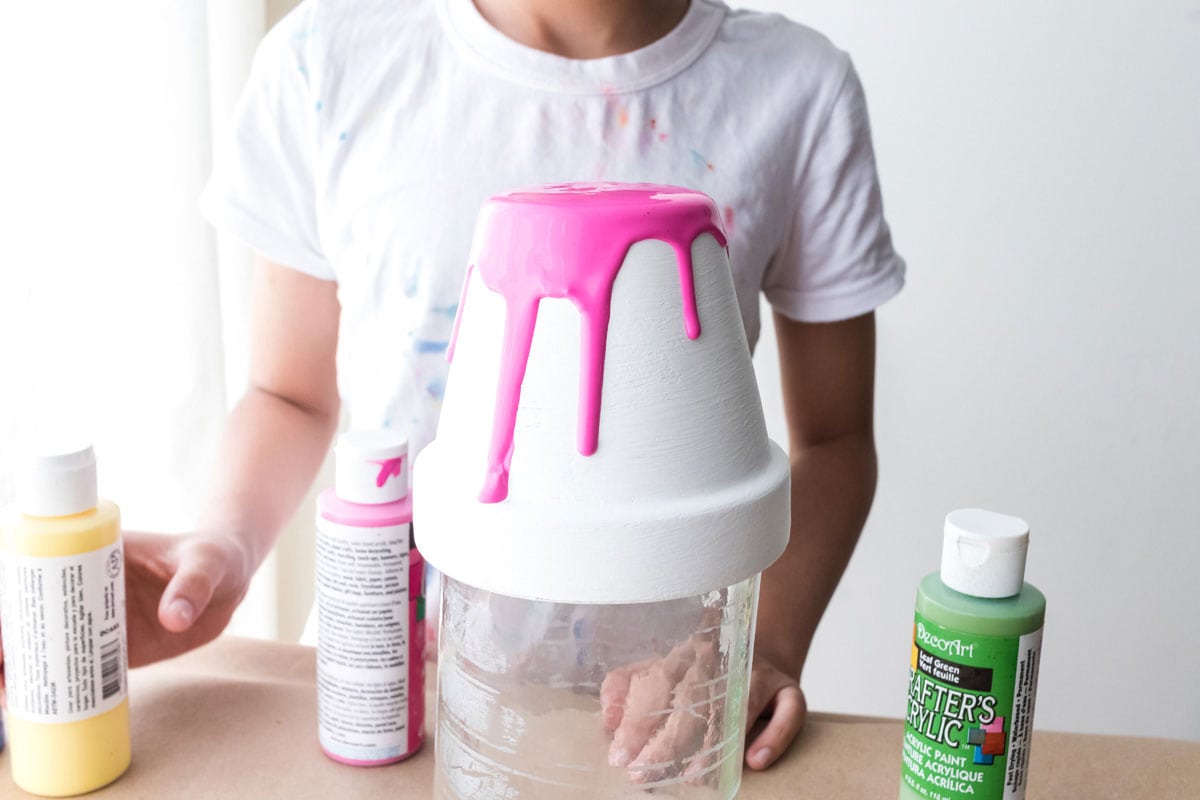
- When white paint is dry, place the pot upside down onto a jar or similar cylindrical object to keep the pot suspended.
- Choose a color of paint to start with. Squeeze enough of that color onto the bottom of the pot, enough to cover the bottom so that it begins dripping over.
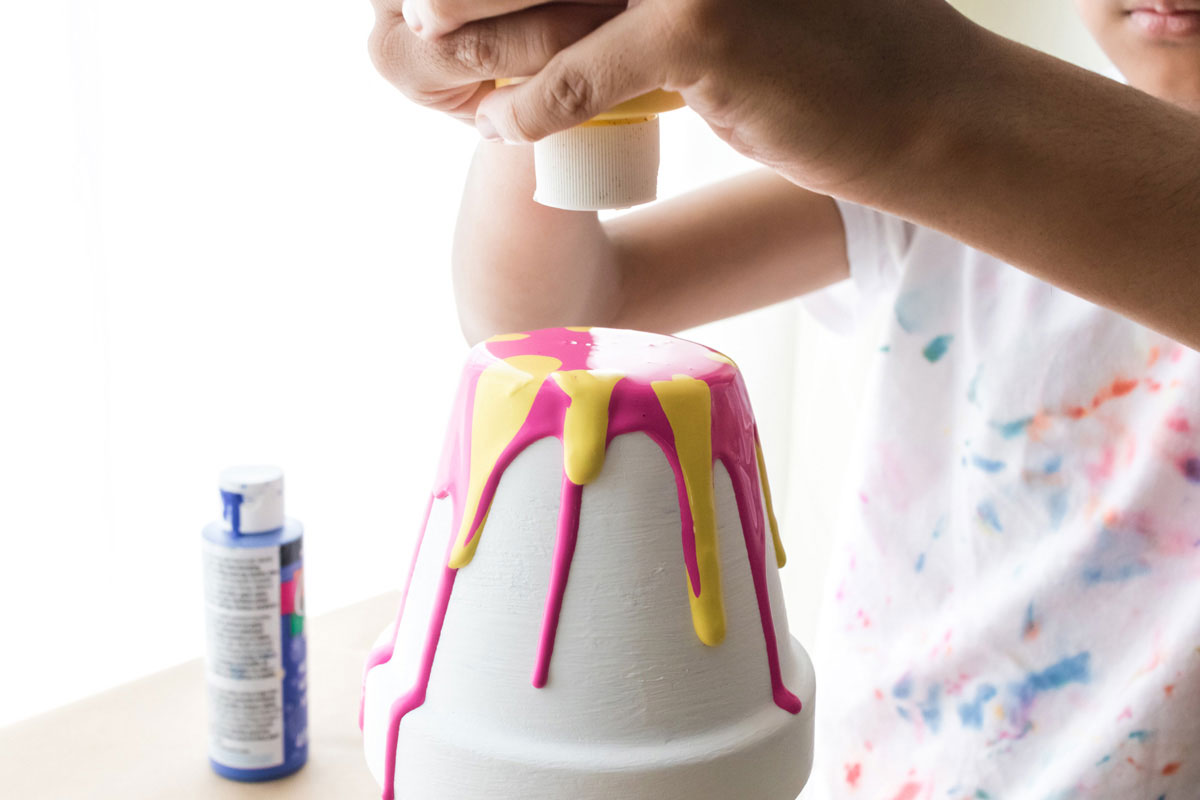
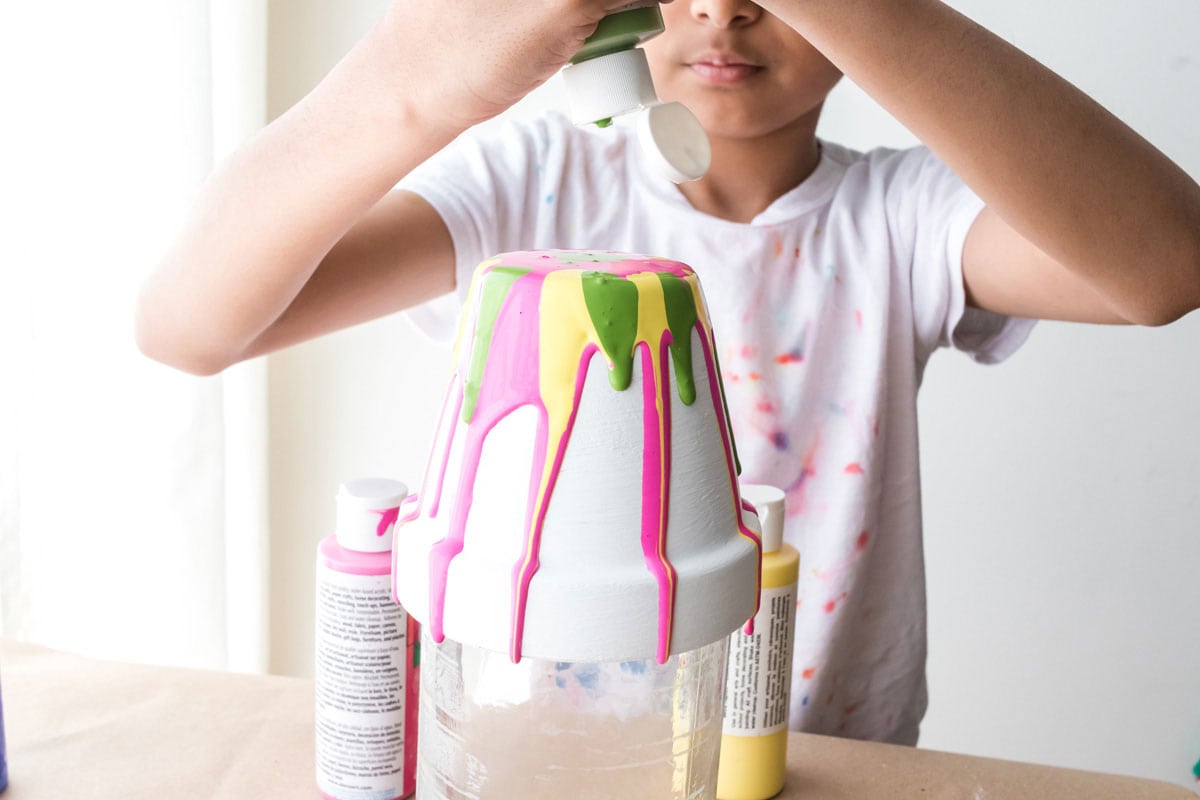
- Next, squeeze the second and any additional colors slow and sparingly in the areas you want those colors to drip down. The rest is up to you! Use as little or as much as you want, and as few or as many colors you want.
- Now you have to be patient and wait. It can take anywhere from 24-72 hours to dry, depending on how much paint you used.
- If you will be planting any live plants in your pot, be sure to use a skewer, fork or knife to poke a hole through the paint and the painters tape once the pot is dry. This will allow for drainage as the original pot intended.
Optional
You can paint a terra cotta trap to go with your pot!
 gifts!")
Making drip paint pots is a fun garden craft for kids and perfect for the outdoors. Adults will love this project too!
More Clay Pot Crafts
- Fingerprint Flower Pot
- Sea Glass Planter
- Clay Pot Lighthouse
- Terra Cotta Pot Wind Chimes
- Fingerprint Flower Pot
- Clay Pot Toadstools
I love to create and share my projects with you! I know it’s hard to remember to come back and search, so I’ve made it easy for you with my weekly newsletter! You can subscribe for free and I’ll send you fun crafts and delicious recipes every week right to your email.
Drip Paint Pots
Using beautiful colors of your choice, you can create stunning drip painted clay pots that are fun for everyone.
Prep Time5 minutes
Crafting Time20 minutes
Dry Time2 days
Total Time2 days 25 minutes
Age Group: Adult Crafts
Project Type: Spring
Makes: 1 pot
Supplies
- Terra cotta pot
- Acrylic craft paint or Patio Paint in white and your choice of colors
- Clear outdoor sealer (if keeping pot outdoors)
Craft tools
Painter's tape
Paintbrush
Jar or other cylinder
Newspaper or plastic tablecloth
Instructions
Preparation
Start by covering a large work surface with 2-3 layers of newspaper, or line with a disposable plastic tablecloth.
Cover the hole in the bottom of the pot using painter’s tape. This will keep the paint from dripping through.
Decorating Your Pot
Paint the outside of the terra cotta pot with white paint, including the rim. Do not paint the inside of the pot.
When white paint is dry, place the pot upside down onto a jar or similar cylindrical object to keep the pot suspended.
Choose a color of paint to start with. Squeeze enough of that color onto the bottom of the pot, enough to cover the bottom so that it begins dripping over.
Next, squeeze the second and any additional colors slow and sparingly in the areas you want those colors to drip down. The rest is up to you! Use as little or as much as you want, and as few or as many colors you want.
Now you have to be patient and wait. It can take anywhere from 24-72 hours to dry, depending on how much paint you used.
When the Pot is Dry
If you will be planting any live plants in your pot, be sure to use a skewer, fork or knife to poke a hole through the paint and the painters tape. This will allow for drainage as the original pot intended.
Optional
You can paint a terra cotta trap to go with your pot!
Expert Tips & FAQs
- We recommend using a combination of acrylic paints and a sealer, or if you want to keep your pots outside, go with Patio Paint, which is specifically formulated for the outdoors.
- The trick here is to not squeeze too much paint out at once so you don’t end up with a big blob of muddled shades. Use small amounts because you can always add more, but can’t take any away.
- Be certain you use something to elevate the pot so that the rim is not touching the work surface. If you place the pot right on the work surface, the paint will gather around the rim and dry there, causing a messy look, jagged rim. We used a jar to place our pot onto, which allowed the paint to drip off onto the protected work surface.
- Important Note – if you allow water to sit in the tray after watering your plant, it can soften the paint around the bottom of the pot and cause it to peel.
This post originally appeared here on June 5, 2020.
Amanda Davis is the crafty, entrepreneurial mother of four children. She loves to bake, cook, make kid's crafts and create decorative items for her home. She is a crafting expert and guru in the kitchen and has appeared online and in print publications many times over the years.
Latest posts by Amanda Davis (see all)
Reader Interactions
Free CraftsBy email every week
Latest crafts straight to your inbox!


 English (US) ·