
.jpg)
 1 day ago
21
1 day ago
21
PROTECT YOUR DNA WITH QUANTUM TECHNOLOGY
Orgo-Life the new way to the future Advertising by AdpathwayAuthor by Jennifer Tammy on October 13, 2026 Updated on October 13, 2026
I order a lot of the things I need in my day-to-day life online, which means I collect plenty of boxes. So this year it only made sense to recycle some of those

boxes and make a “Boxtume!” We decided to go with a doll in a box costume using materials we already had lying around the house. Didn’t this kids’ costume turn out adorable?
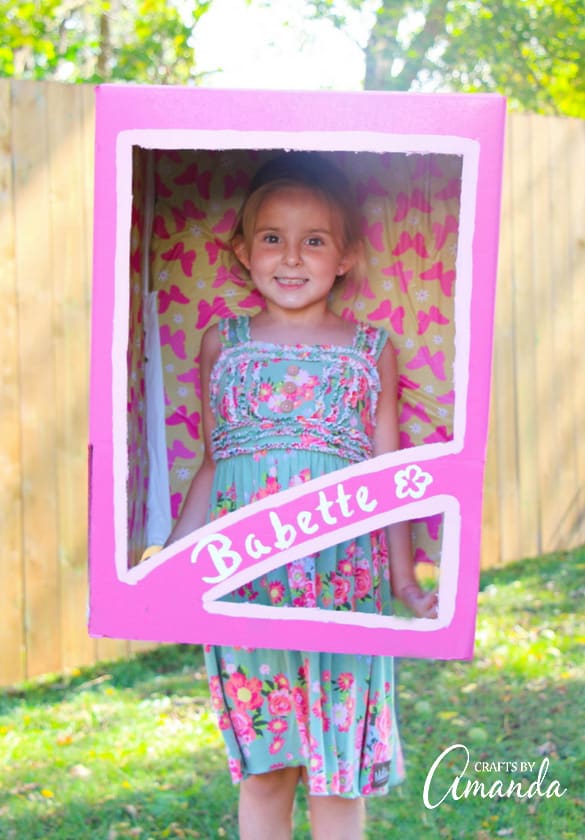
Why this costume works
I’ve been working hard on instilling a DIY mentality in my daughter. I’ll encourage her to make a homemade tiara instead of buying one or customizing plain costumes to make them ultra-unique. That’s why encouraging her to DIY her Halloween costume was exciting to her!
Her idea was to be a “Doll in a Box” for Halloween. At first, I envisioned a box with cutouts for arms and legs, but after playing around with the concept a bit we created a cute costume – or “Boxtume” if you will – that is practical for parties, trick or treating, or wearing to school. This would even be fun as a photo prop!
While we used spray paint for a quicker project, kids can use acrylic or poster paint for the same effect. You may even choose to cover your box in pink wrapping paper! A grown-up should be the one to handle the box cutter, but kids can help outline where the box should be cut and can trim off the rough edges with scissors afterward.
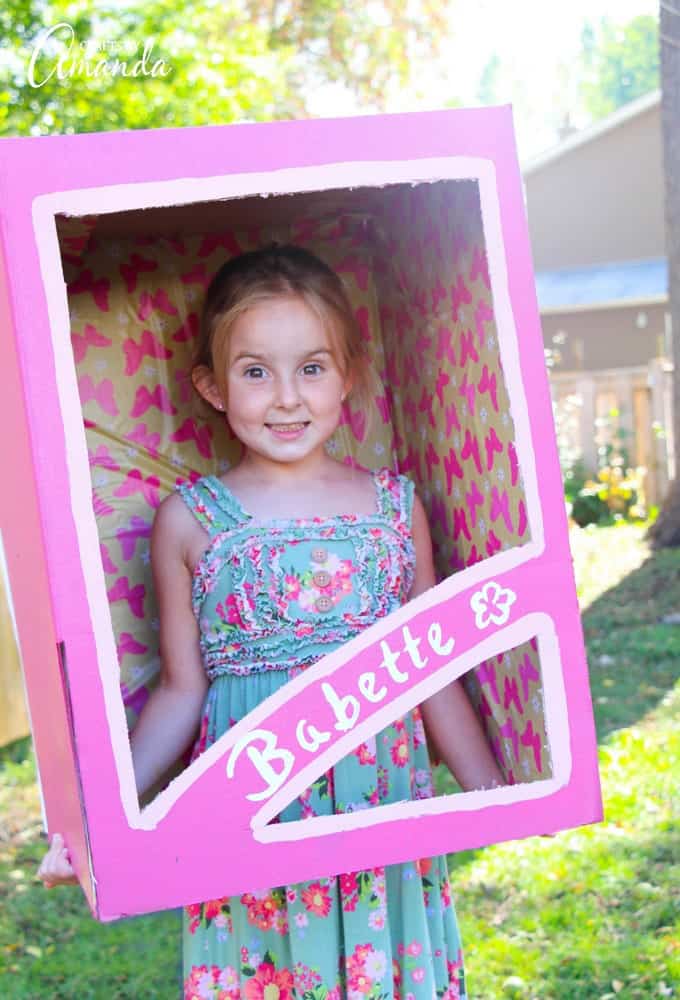
All of these materials can be purchased on Amazon – and you can use the box that they’re shipped in to make your boxtume!
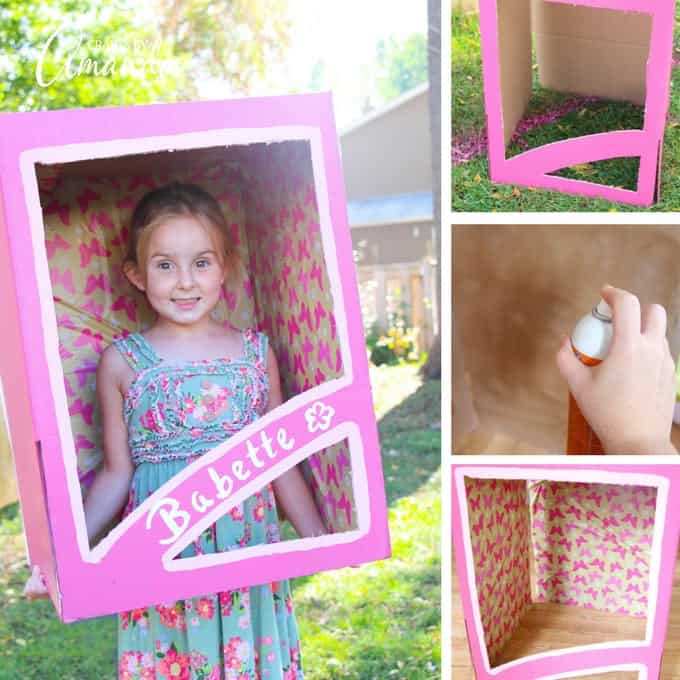
How to make a doll in a box costume
These step by step photos and instructions are here to help you visualize how to make this project. Please scroll down to simply print out the instructions!
Disassemble and lay your box flat on a surface that can be spray painted.
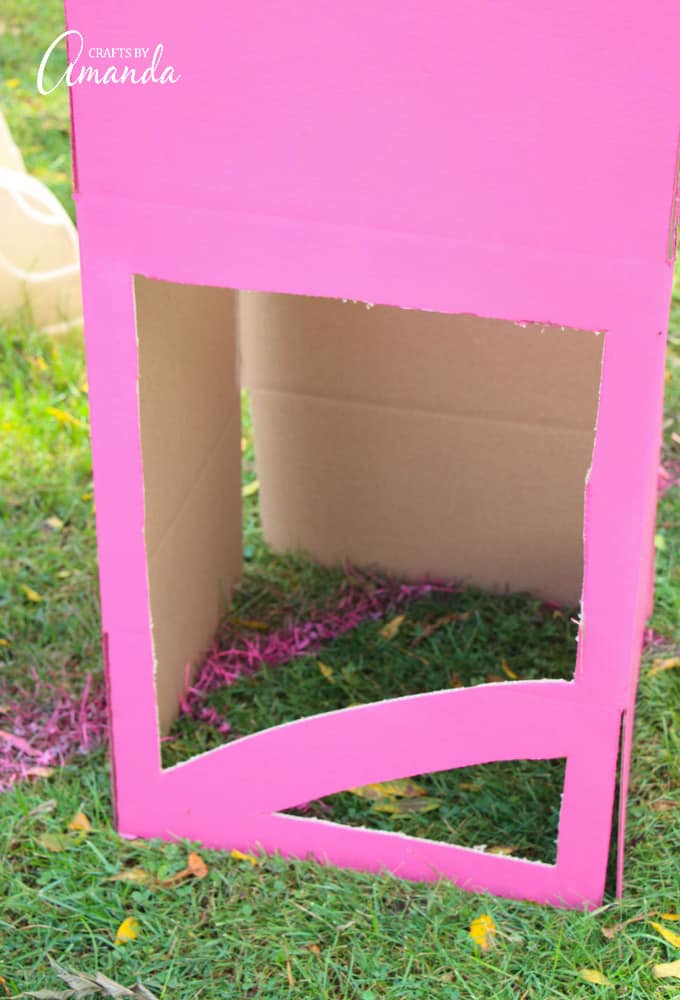
Spray an even coat of the pink spray paint over the box and let dry at least 2 hours. (Mine dried outside for 2 hours, then I placed it in my shed to off-gas overnight.)
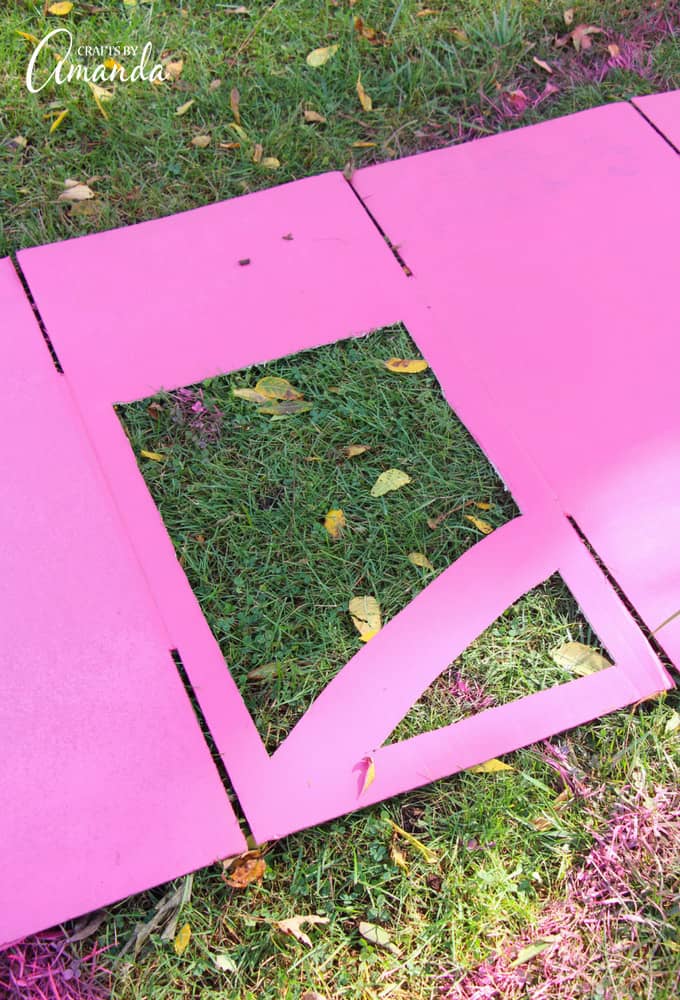
Using a pencil, draw the doll box window and then cut out using the box cutter.
Trim any rough edges.
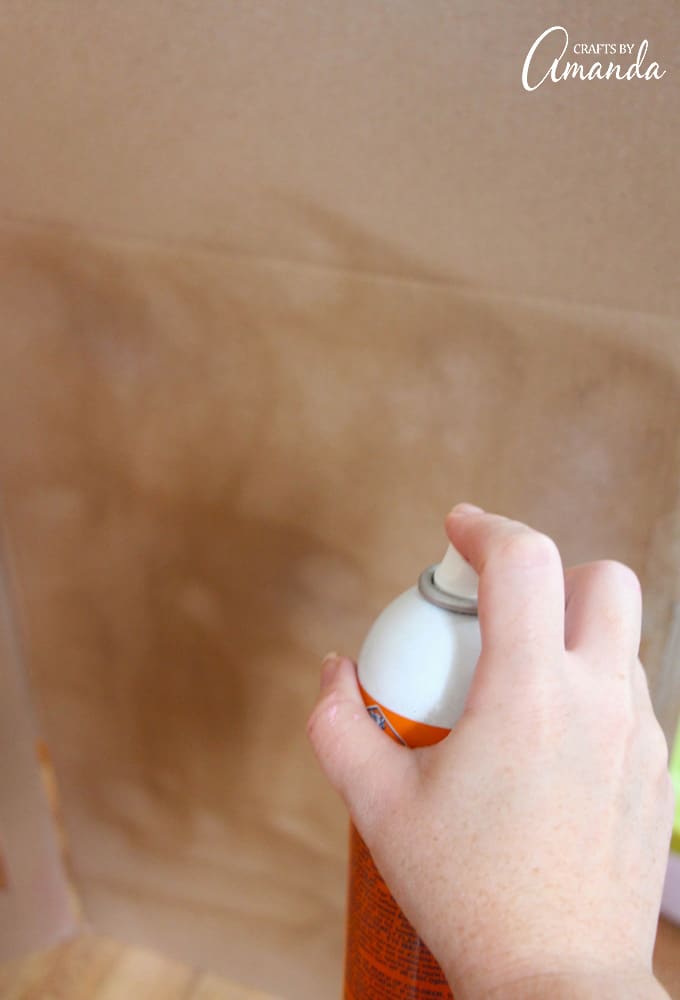
Spray adhesive on the inside uncut box sides and press the wrapping paper from one edge to the other, smoothing it down carefully as it will stick immediately.
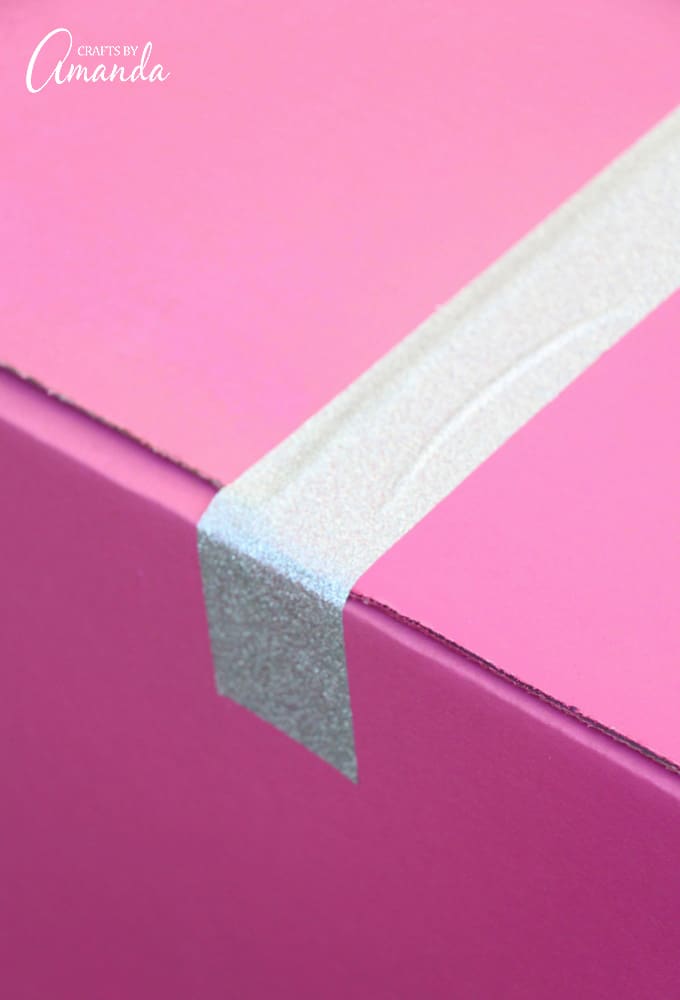
Use your glittery duct tape to re-assemble the box.
Use a medium-sized brush to apply the pink acrylic paint to outline the box cut out.
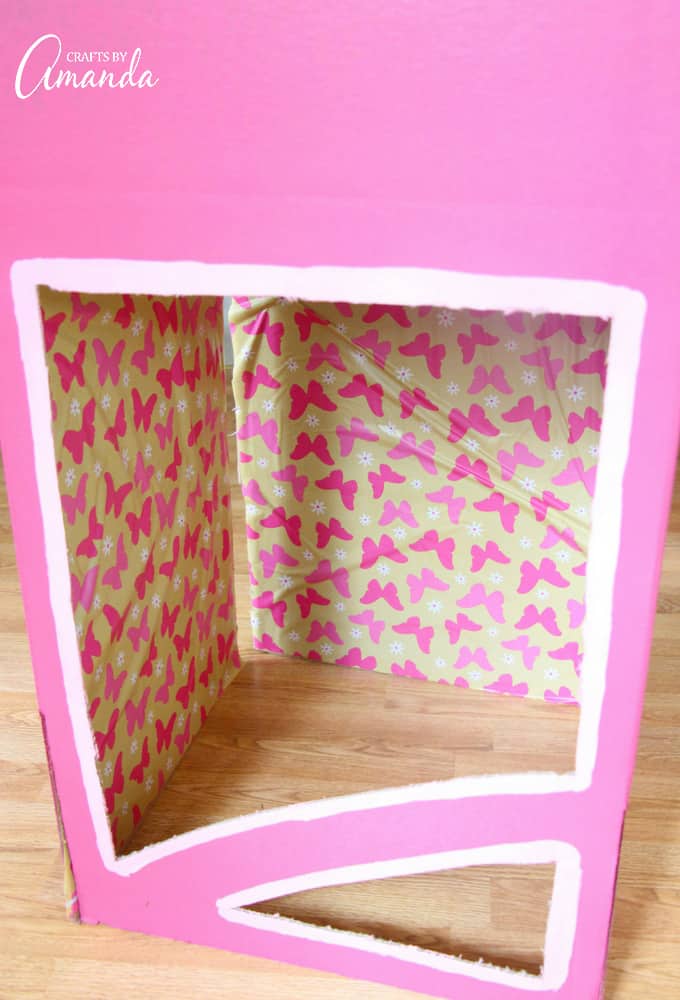
Once the pink paint is dry, write out the name of your doll in pencil and then go over with the white acrylic paint.
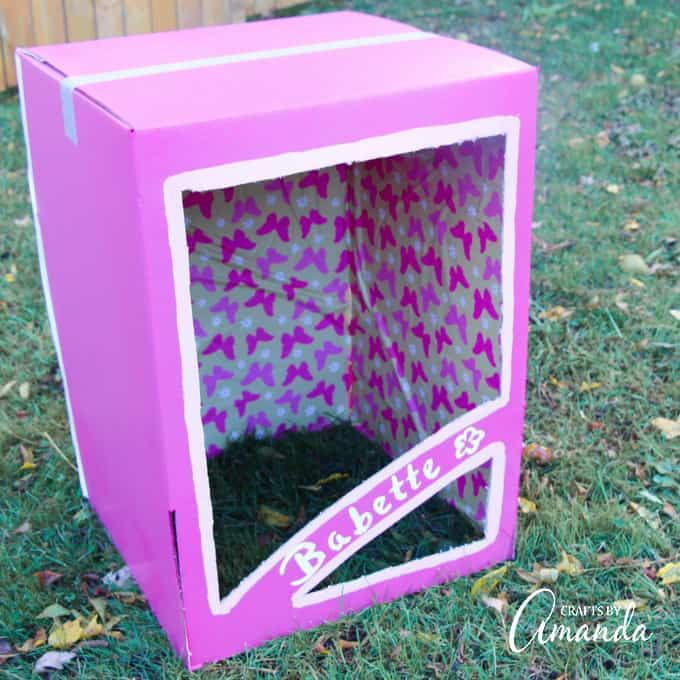
Let dry before wearing.
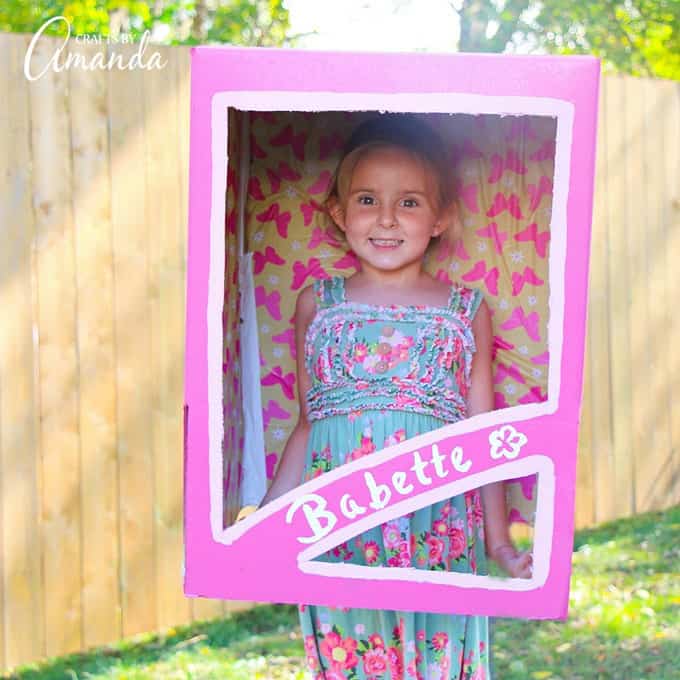
You can optionally attach handles using your duct tape or cut handles in the box but we didn’t find that necessary. Another option is to create two holes in the back, insert a belt through the holes and around your child’s waist to help hold the box up. We’ve even seen a doll in a box costume that uses this method but with a backpack so that your shoulders carry the boxtume!
My daughter was pleased as punch with her unique Halloween costume and is super excited to show her friends and classmates at their Halloween party next week.
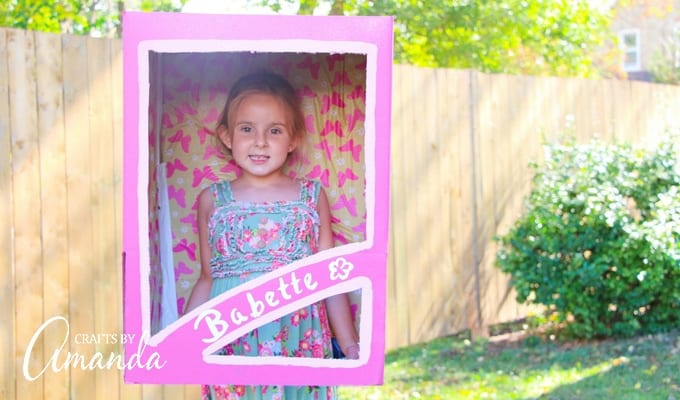
What boxtume will you be making?
More DIY Halloween Costumes
I love to create and share my projects with you! I know it’s hard to remember to come back and search, so I’ve made it easy for you with my weekly newsletter! You can subscribe for free and I’ll send you fun crafts every week right to your email.
Doll in a Box Costume
Make yourself or your little girl a doll in a box costume that's perfect for Halloween or great to use as a photo prop for a little girl's birthday party!
Age Group: Kids Crafts
Project Type: Halloween
Supplies
- 1 large box or multiple small boxes taped together
- Pencil
- Pink spray paint
- Light pink acrylic paint
- White acrylic paint
- 1 paintbrushed one thin, one medium sized
- Glitter duct tape or pink duct tape
- Spray adhesive
- Pretty wrapping paper
Instructions
Disassemble and lay your box flat on a surface that can be spray painted
Spray an even coat of the pink spray paint over the box and let dry at least 2 hours. (Mine dried outside for 2 hours, then I placed it in my shed to off-gas overnight.)
Spray adhesive on the inside uncut box sides and press the wrapping paper from one edge to the other, smoothing it down carefully as it will stick immediately.
Use a medium-sized brush to apply the pink acrylic paint to outline the box cut out.
Once the pink paint is dry, write out the name of your doll in pencil and then go over with the thin paintbrush and white acrylic paint.
Let dry before wearing.
Expert Tips & FAQs
You can optionally attach handles using your duct tape or cut handles in the box but we didn’t find that necessary. Another option is to create two holes in the back, insert a belt through the holes and around your child’s waist to help hold the box up. We’ve even seen a doll in a box costume that uses this method but with a backpack so that your shoulders carry the boxtume!
This post originally appeared here on Oct 17, 2017.








 English (US) ·